
Picture frame wainscoting is a classic and sophisticated wall treatment that adds depth, character, and elegance to any space. Whether you’re looking to enhance a traditional home or add a touch of luxury to a modern interior, this type of wainscoting can be the perfect solution. In this article, we’ll explore what picture frame wainscoting is, its benefits, how to install it, and design ideas to inspire your next home improvement project.
What is Picture Frame Wainscoting?
Picture frame wainscoting is a decorative wall treatment where rectangular or square molding panels are applied to the lower portion of a wall, creating a framed effect similar to traditional picture frames. Unlike raised or recessed wainscoting, picture frame wainscoting consists of molding pieces that are attached directly to a flat wall surface, making it a relatively easy and cost-effective way to achieve an elegant, paneled look.
This style of wainscoting has been popular for centuries, often seen in historic homes, luxury estates, and formal spaces such as dining rooms and hallways. Today, it remains a sought-after design choice for homeowners who want to elevate their interior decor without extensive remodeling.
Benefits of Picture Frame Wainscoting
1. Enhances Aesthetic Appeal
One of the main reasons homeowners choose picture frame wainscoting is its ability to add instant charm and elegance to any room. The symmetrical and structured look of the molding provides a refined appearance that can complement both traditional and modern interiors.
2. Adds Architectural Interest
Many homes, especially newer constructions, often lack architectural details. Picture frame wainscoting introduces depth and dimension to flat walls, making rooms feel more polished and visually engaging.
3. Cost-Effective Upgrade
Compared to more complex wainscoting styles like raised panel or beadboard, picture frame wainscoting is relatively affordable. Since it only requires molding pieces and paint, it provides a high-end look without the high-end cost.
4. Easy to Install
Unlike traditional wainscoting that requires extensive woodworking, picture frame wainscoting can be a DIY-friendly project. With basic tools and a bit of patience, homeowners can achieve a professional-looking result in just a weekend.
5. Versatile Design Option
Picture frame wainscoting can be adapted to suit various design styles. Whether you prefer a classic, ornate look or a sleek, modern approach, the flexibility in molding styles, spacing, and finishes allows for endless customization.
How to Install Picture Frame Wainscoting
Installing picture frame wainscoting is a straightforward process that requires careful planning and precision. Here’s a step-by-step guide to help you achieve a professional result.
Step 1: Gather Materials and Tools
Before you begin, make sure you have the following:
- Molding strips (wood, MDF, or polyurethane)
- Measuring tape
- Level
- Miter saw
- Pencil
- Wood glue or construction adhesive
- Nail gun or finishing nails
- Sandpaper
- Caulk and caulk gun
- Primer and paint
Step 2: Measure and Plan Your Layout
Determine the height and spacing of your wainscoting. A common height is between 30 to 42 inches from the floor, but this can be adjusted based on your ceiling height and personal preference.
Use a measuring tape and level to mark the placement of your frames, ensuring even spacing and symmetrical alignment.
Step 3: Cut and Assemble the Frames
Using a miter saw, cut the molding strips at 45-degree angles to create the corners of each frame. Dry-fit the pieces on the wall to ensure proper alignment before securing them in place.
Step 4: Attach the Molding to the Wall
Apply wood glue or construction adhesive to the back of each molding piece, then press it onto the wall. Use a nail gun or finishing nails to secure it in place.
Step 5: Fill Gaps and Sand the Surface
Once all the frames are installed, use caulk to fill any gaps or nail holes. Lightly sand the molding to create a smooth surface for painting.
Step 6: Prime and Paint
Apply a coat of primer to ensure an even finish, followed by your desired paint color. White and neutral tones are popular choices, but bold colors can also create a striking effect.
Design Ideas for Picture Frame Wainscoting
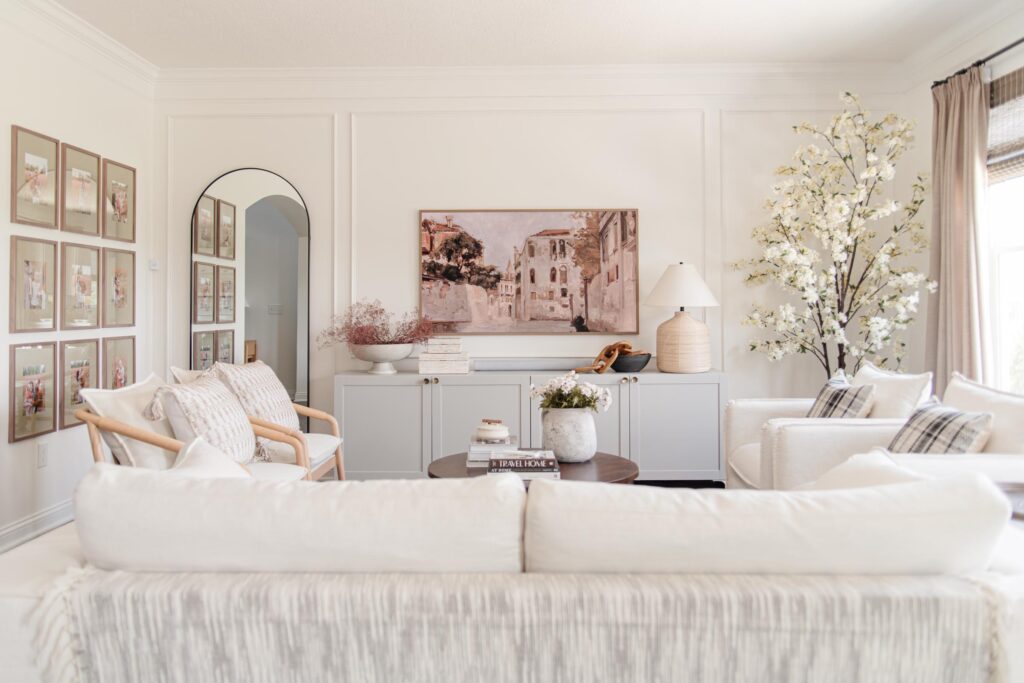
1. Classic White Wainscoting
A timeless choice, white picture frame wainscoting adds a crisp, elegant touch to dining rooms, living rooms, and hallways. Pair it with soft wall colors for a sophisticated and airy feel.
2. Two-Tone Wainscoting
For a modern twist, consider painting the wainscoting a different color from the upper wall. A deep navy or charcoal lower section contrasted with a light upper wall can create a dramatic and stylish effect.
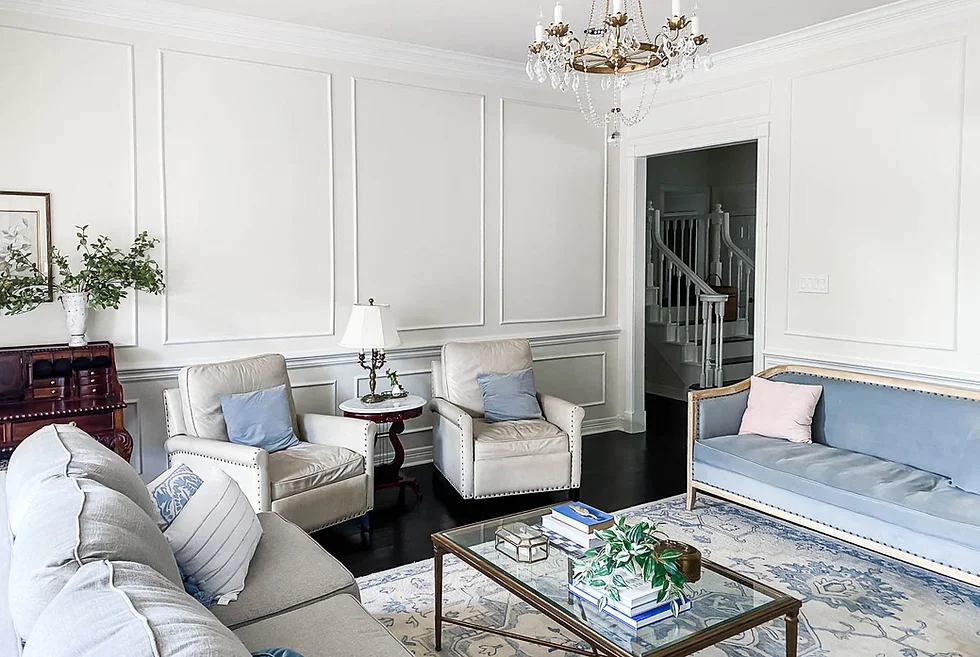
3. Floor-to-Ceiling Picture Frame Panels
Instead of limiting the frames to the lower half of the wall, extend them to the ceiling for a grand and luxurious look. This design works especially well in formal spaces like entryways and home offices.
4. Gold or Metallic Accents
For a touch of glamour, use metallic paint or gold-leaf detailing on the molding. This can create an opulent and high-end feel, perfect for luxe interiors.
5. Textured or Wallpapered Panels
Add depth by incorporating wallpaper or textured paint within the frames. This is a great way to introduce patterns and visual interest while maintaining a classic framework.
Conclusion
Picture frame wainscoting is a timeless and versatile design element that can instantly elevate the aesthetic of any space. With its affordability, ease of installation, and endless customization options, it’s an excellent choice for homeowners looking to add architectural charm and sophistication to their interiors. Whether you prefer a classic white finish, a bold modern design, or intricate detailing, picture frame wainscoting offers a stylish way to enhance your home.If you’re considering a home improvement project that adds both beauty and value, picture frame wainscoting is a fantastic option. With a little planning and creativity, you can transform any room into an elegant and refined space.